MINI Cooper SE – Cabin Filter Replacement (Instructions)


2 min read

MINI Cooper SE – Innenraumfilter wechseln (Anleitung)

Regular filter replacement keeps the air in your MINI Cooper SE clean, ensures that the air conditioning works efficiently, and prevents your windows from fogging up. In these instructions, you’ll learn how to easily replace it yourself in just a few minutes.

Quick Check

Time required approx. 15-20 minutes
Difficulty level Medium
Installation location Passenger footwell
Tool Torx T20 screwdriver
Compatible filter EDOC-1001-A
Airflow toward the rear (in the direction of the rear)
Manufacturer interval every 24 months
EV-DOC recommendation every 15,000-20,000 km or 12-18 months

Preparation

  • Secure the vehicle: Make sure the vehicle is secured in Park (P), completely deactivated (ignition/system off), and that the ventilation/air conditioning is switched off.
  • Protection & hygiene: Place a mat or cloth under the work area to catch falling dirt. Safety glasses and a respirator protect you from falling dust and pollen. It is best to have a vacuum cleaner ready to vacuum out the housing before installation.
  • Lighting: Since the installation location is usually dark, we recommend using a headlamp or flashlight for the best possible visibility.
  • Tool: You will need a Torx T20 screwdriver for the replacement.
  • Access: The filter is located at the top of the passenger footwell under the glove compartment. Move the seat all the way back and recline the backrest as far as possible to create maximum working space.

Step-by-step instructions

  1. Remove the lower footwell cover
    Look up into the passenger footwell beneath the glove compartment. Loosen the two Torx T20 screws on the plastic cover. Carefully pull the cover downward and disconnect the footwell light connector to remove the trim completely.
  2. Open the filter housing
    The filter box is now at the upper right of the footwell. Press the two side retaining tabs of the housing cover together and fold the cover downward.
  3. Remove the old filter elements
    The MINI Cooper SE uses two stacked filter elements. First, pull the lower filter element downward and out. Then slide the upper filter element downward in the compartment and pull it out as well.
  4. Install the new filters
    Insert the first new filter element into the compartment and push it all the way up. Then insert the second filter element directly underneath it.
    ↔ Airflow: The arrows on the side of the filters must point toward the rear (in the direction of the rear)!
    💡 Pro tip: When you push the first element upward, it tends to fall back down before the second one is in place. Simply hold the upper element in place with two fingers while pushing the second one in directly from below!
  5. Close the housing & install the cover
    Put the filter housing cover back on until it audibly clicks into place. Reconnect the footwell light cable, position the lower cover, and secure it with the two Torx T20 screws.

Disposal Instructions

To ensure that all materials from your filter change are recycled as effectively as possible and the cycle remains closed, please dispose of them as follows:

  • Used filter
    As the old filter is heavily contaminated with pollutants, fine dust and soot, it should be disposed of as general waste. Through thermal recycling in modern facilities, at least some useful energy (electricity and district heating) can still be recovered from it.
  • Shipping box
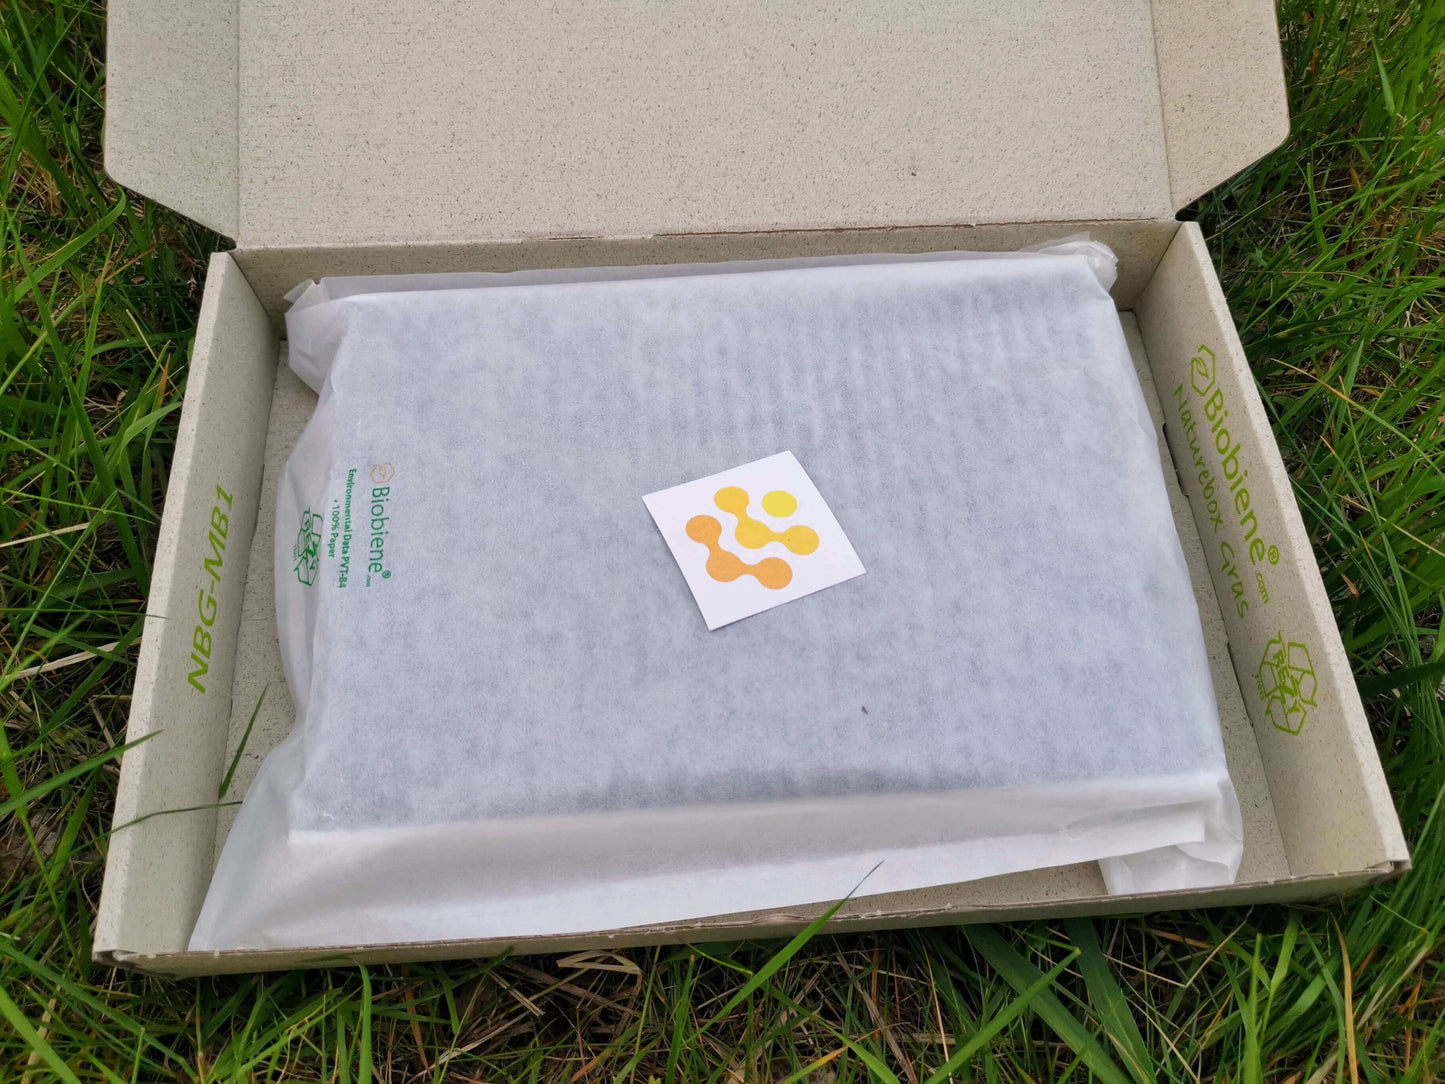
    It is best to put the grass-paper box in the waste paper bin so that the fibres remain in the recycling cycle. Alternatively, you can also dispose of it on your own garden compost heap.
  • Filter bag
    The plastic-free pouch for your new filter is made of paper and should also be placed in the waste paper bin.
  • Stickers & labels
    You do not need to remove stickers from the cardboard before putting it in the waste paper bin – they are automatically recycled along with the paper. However, if you are composting the cardboard, please remove the labels first. Individual labels should be disposed of in the general waste due to the adhesive.

Disclaimer

These instructions are provided for guidance only. All work is carried out at your own risk and under your own responsibility. EV-DOC accepts no liability for personal injury, damage to property or consequential damage, or for vehicle faults resulting from incorrect installation or misinterpretation of these instructions. Please always follow the specific manufacturer’s guidelines for your vehicle.


Is something wrong? Leave a comment!

Please note, comments need to be approved before they are published.

Warum ein hochwertiger Aktivkohlefilter statt eines Pollenfilters?

Ein einfacher Pollenfilter hält lediglich groben Schmutz, Blätter und Pollen zurück. Ein Aktivkohlefilter besitzt eine zusätzliche, hochporöse Aktivkohlelage, die wie ein Schwamm wirkt: Sie bindet schädliche Gase (wie Stickoxide, Ozon und Abgase) sowie störende Gerüche von außen. Da Elektroautos oft leise im Stadtverkehr und im Stau unterwegs sind, sorgt ein Aktivkohlefilter für spürbar frischere und gesündere Innenraumluft – besonders für Allergiker:innen und Vielfahrer:innen.

Wie erkenne ich, wie herum der Innenraumfilter eingebaut werden muss?

Achte auf die aufgedruckten Pfeile an der Seite des Filters. Diese markieren die Luftstromrichtung (Airflow). Die Pfeile müssen immer in die Richtung zeigen, in die die Luft durch das Gehäuse fließt – bei E-Autos ist das meist von oben nach unten (Richtung Fahrzeugboden) oder von außen nach innen (Richtung Heck). Achte vor dem Ausbau des alten Filters darauf, wie die Pfeile ausgerichtet waren.

Wie oft sollte der Innenraumfilter beim Elektroauto gewechselt werden?

Als Grundregel gilt: Alle 15.000-20.000 km oder 12-18 Monate. Auch wenn Elektroautos keinen Verbrennungsmotor besitzen, läuft das Lüftungs- und Klimasystem konstant. Bei Fahrten in städtischen Gebieten, hoher Pollenbelastung oder für Allergiker:innen empfiehlt sich ein jährlicher Wechsel vor Beginn der Pollensaison im Frühjahr.

Kann man den Innenraumfilter bei Elektroautos selber wechseln?

Ja, i langt de fleste elbilmodeller kan kabinefilteret udskiftes på få trin og ofte helt uden værktøj. Afhængigt af modellen sidder filteret let tilgængeligt i passagerens fodrum, bag handskerummet eller i frunk (motorrummet). Med den rette trin-for-trin-vejledning tager udskiftningen som regel kun 5 til 15 minutter.

Was passiert, wenn man den Innenraumfilter nicht rechtzeitig wechselt?

Ein zugesetzter Filter verringert die Gebläseleistung der Klimaanlage spürbar, was im Winter zu schneller beschlagenen Scheiben führt. Zudem sammeln sich im feuchten Filter Gewebe, Pollen und Bakterien, was zu unangenehmen, modrigen Gerüchen im Innenraum führen und Allergiesymptome verstärken kann. Beim E-Auto muss die Lüftung bei verstopftem Filter zudem mehr Energie aufwenden, was die Effizienz beeinträchtigen kann.

Warum riecht die Lüftung trotz neuem Innenraumfilter noch muffig?

Wenn der alte Filter sehr lange verbaut war, können sich Bakterien und Pilze direkt auf dem Verdampfer der Klimaanlage festgesetzt haben. In diesem Fall empfiehlt es sich, vor dem Einbau des neuen Filters eine Klimaanlagen-Desinfektion (z.B. mit einem Desinfektions-Schaum oder einer Klick-Dose für den Innenraum) durchzuführen und den Filterkasten gründlich auszusaugen.

Vil du gerne engagere dig?

Lass uns wissen, bei welchem Innenraumfilter du uns (und die Community) mit Bildmaterial zu unserer Einbauanleitung unterstützen kannst. Als Dankeschön erhältst du deinen Filter von uns kostenlos und wir verlinken dich als Prüfer:in der Anleitung!


Præcis model, herunder byggeår og drivkraft.

Dein Instagram oder YouTube-Kanal.

Vi vender tilbage til dig så hurtigt som muligt.